Time: 6hrs
Total Time : 21hrs
-------------------------------
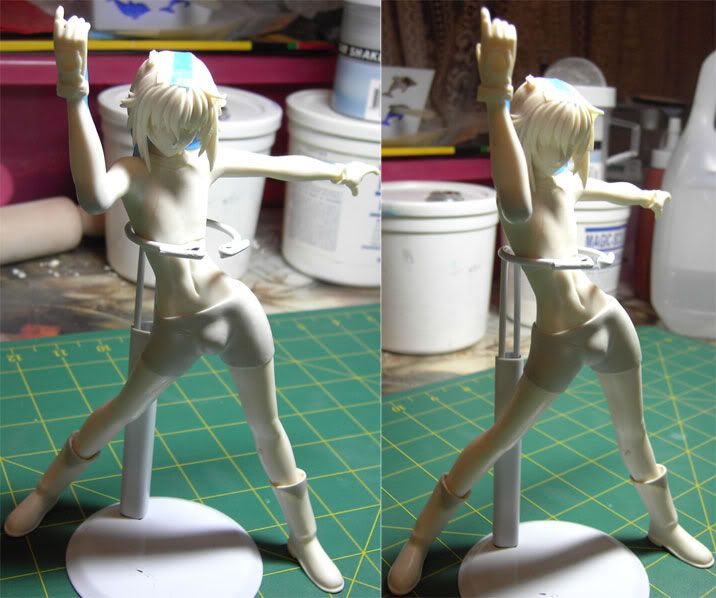
Finally another update! I’ve taken on a second job and I’m very busy with band work also so my favourite hobby is being neglected!!! Never mind, I thought I’d make up for it by spending all these hours over the last few days. This cloak DROVE ME NUTS, but in the brain department. I started 3 days ago by taping up Shuichi’s torso so I could streamline it so I wouldn’t get all the
 bumps and seam lines from the crop top and the pants. That was pretty quick, then I played with so many different types of material draping over the torso so I could lay down some magic sculpt for the cloak. This was also to stop the magic sculpt sticking permanently to the figure. Once it dries its bond is really strong depending on the shape of what you have put it on and I don’t want to make the cloak a permanent part of the model.
Foam, aluminum foil, sticky tape and baking paper all failed me, at this point I had lost 4 hours and a few insanity points and decided to give up and think about it. Over the next 2 days I narrowed down the options to either using real PVC or leather as the support for the resin or wires. I went with wires and got into it tonight. I readied my magic sculpt resin, flexible 16” wire, florist wire, wire cutters, 3M tape, talcum powder, cling wrap and Klean Klay (not pictured).
I left Shuichi in the doll stand and put some Klean Klay around the base of the stand and on his feet so he wouldn’t move around. Then some blobs of clay were put around the base in the
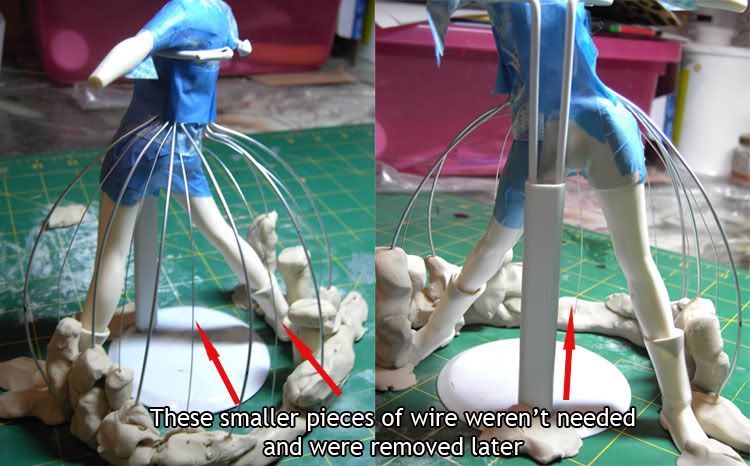 general shape of how I wanted the cloak to sit. The clay is so easy to work with and it never ever dries out. I then cut some pieces of wire off and because of the shape of the wire roll most of them had an ideal curve for the shape I wanted. I just flattened about ½ an inch on each piece so I could rest it and tape it against the torso. I wanted to have the cloak have very big creases so I placed florist wire in between the larger wire but below each one to create an ‘s’ pattern. Once I started playing with the cling wrap I found I didn’t need them and they were just in the way so I ended up pulling them all out!
I then covered the wire with cling film, this was a little tricky. It
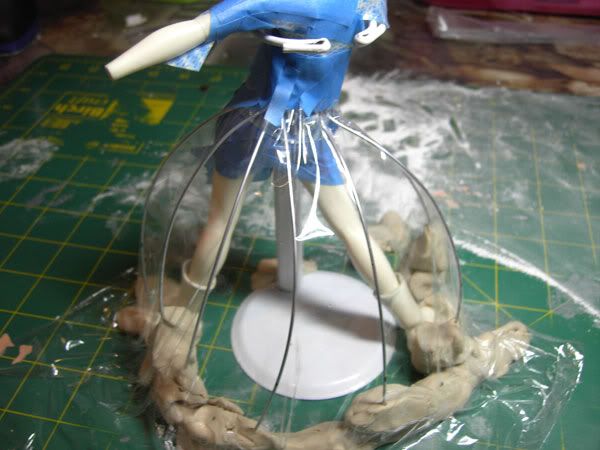 was basically a rectangular shape with an ellipse removed in the middle of one of the longer sides so it didn’t gather too much around the waistline. Took a fair bit of pulling to get it to sit how I wanted it. I stuck down the edges to the clay.
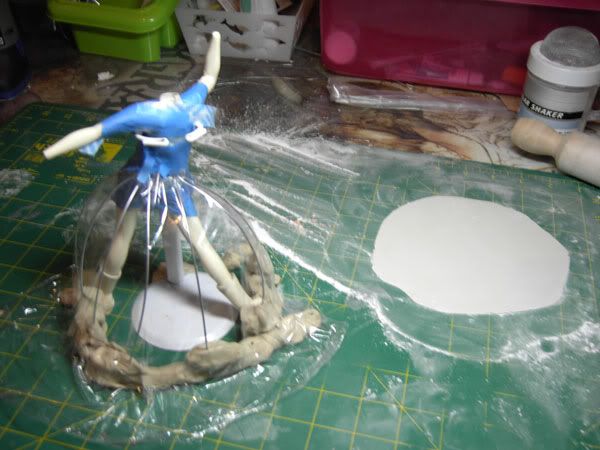 I then mixed up two balls of resin just over an inch each in diameter and rolled it out with a rolling pin using LOTS of talcum powder or the ball can be left to cure 20 minutes 1st. I rolled it very thin.
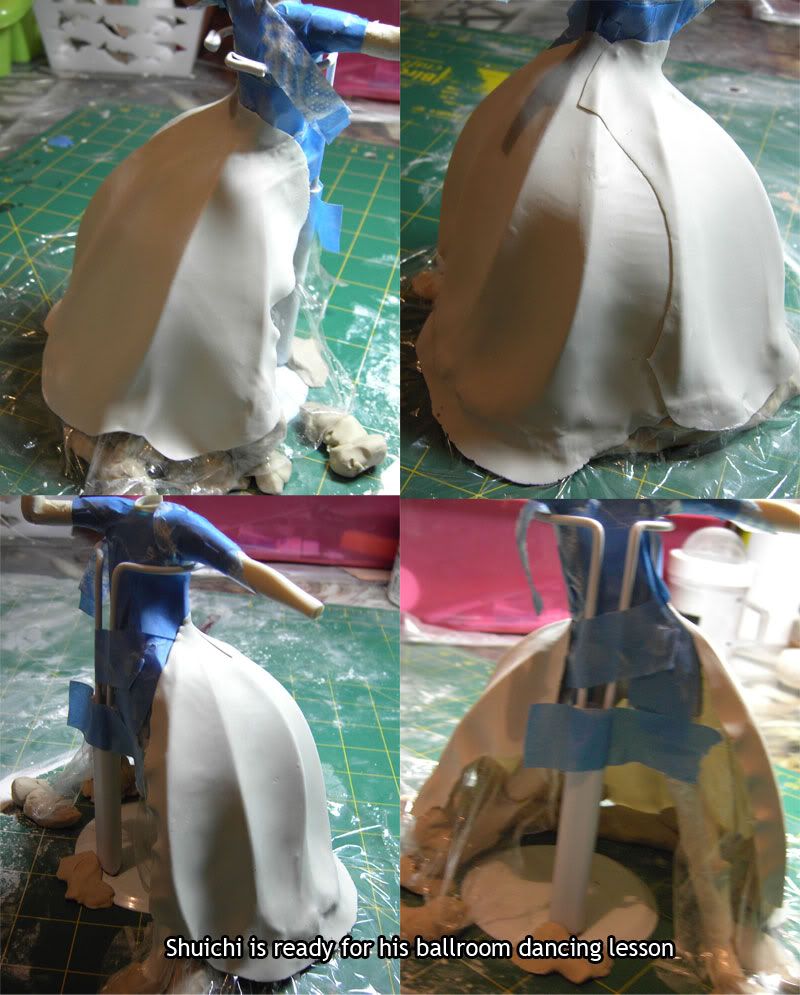 I then draped this piece over the wire frame but it only covered about 2/3 of it. I gently held the piece that rested against Shuichi’s lower back while gently pressing it over the wire frame. The creases formed at exactly the depth I wanted which was great. By the time I had spent a few minutes forming the resin over the frame the top of the resin had bonded very slightly to his lower back and I didn’t need to hold it up anymore. The whole thing, wire frame and resin are made longer than needed; this cloak only needs to come to the top of his boots so I’ll clean up the hem of it later. I rolled out a smaller piece of resin and repeated the process. Now Shuichi is ready for a ballroom dance I think, or maybe he belongs in the civil war with that skirt!!!! I’m hoping it won’t look so girly once I trim the hem.


