-------------------------------
Time: 1hr 30minsTotal Time : 1 hr 30mins-------------------------------
I made the decision last November that I wouldn't work strictly on one mod anymore because it just takes so long and I get sick of looking at the same project, especially considering I don't get to work on my hobby all the time like I wish to.

So today I made a start on Bridget, the reference picture I'm using is drawn by Saigado, all though I most likely wont use his face, just the pose.
So to start I wanted to remove the decoration or whatever it is on the front of the chest. I did it with a hobby knife then sanded.

Next step (seems to be a theme of mine) is to remove the breasts, it's kind of distracting trying to plan out a boy mod when there's boobs staring you in the face >_<

To start I used the cutting wheel in my Dremel set, doesn't make a neat job of things but makes a start.
Then I use the sanding piece and clean up the rough parts. Certainly allows me to see what's going on better and of course alot more needed to come off to give him DFC . . . . (don't ask lol), following on cleanup with 180grit piece of sandpaper (don't use this on kits you are building, it's rough as anything, only for mods!!!) and wet sanded, followed by 320grit for a nice finish, wet sanding always keeps the finish neater.

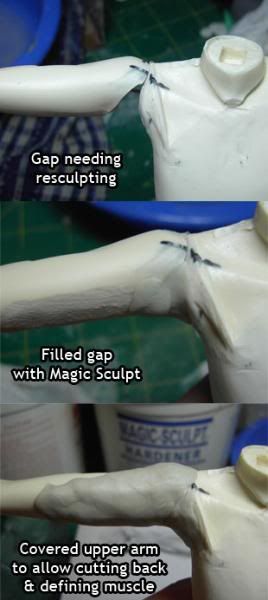
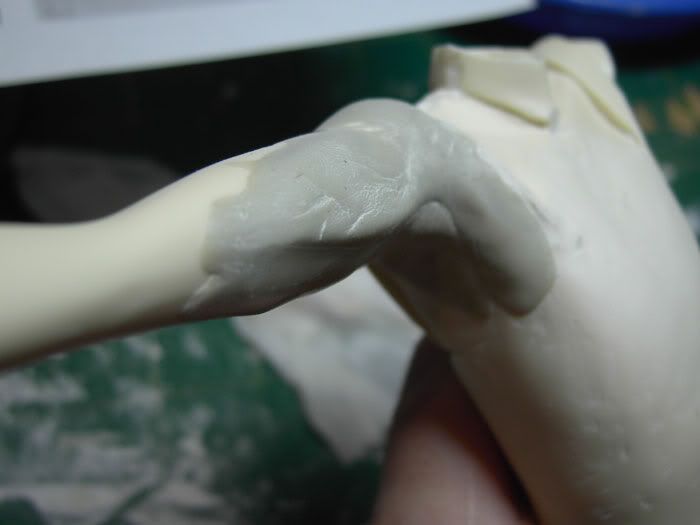
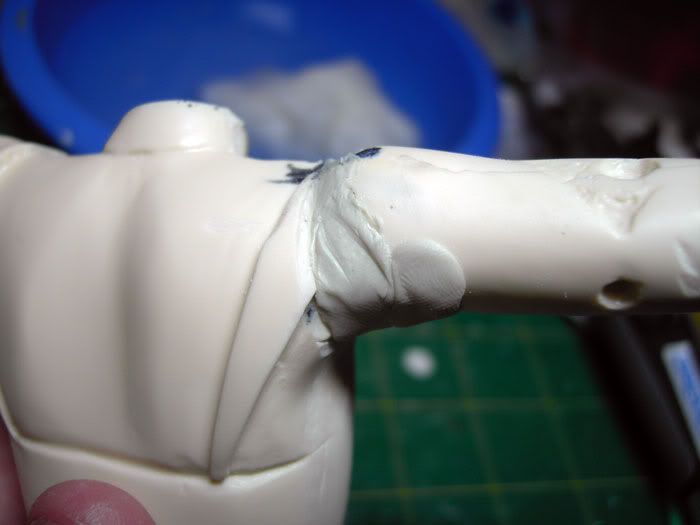
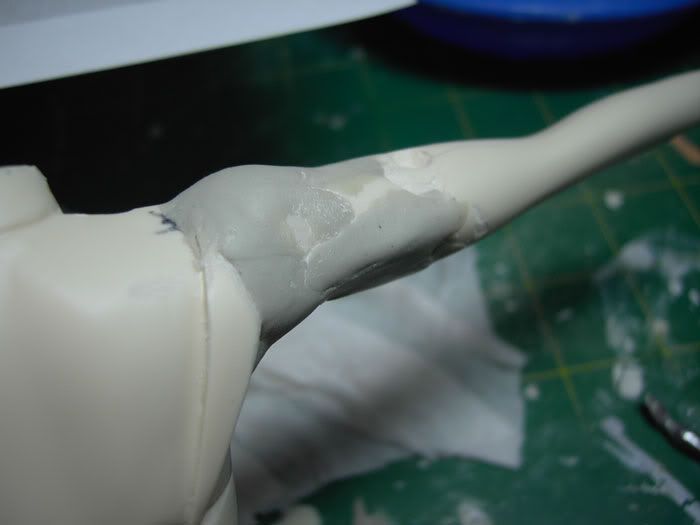
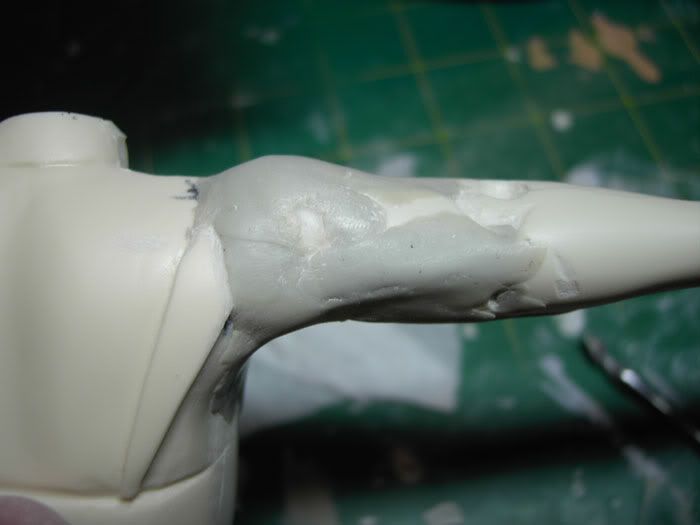
Now the arms need adjusting, they are both in the wrong position, I figured I'd start with the

easy one first as the shoulder shape (in an anatomical sense) will barely change with the repositioning. I used the cutting wheel for the most of it but couldn't get under the armpit so used a mini hand hacksaw to cut some more and then snapped it off. Unfortunately it left a massive sharp piece and I cut myself!!! The

first injury for the project lol, I always get them. The first cut didn't take enough off so I had to redo it a few times. Then I sanded it slightly and pinned ready for rebuilding the gap. I not only left the surface rough, but even scratched it madly with the hobby knife, this helps the putty to adhere to the surface, with such a big gap if you just filled it with material it's likely to slide off.

Lastly I've taken a picture of my setup to help with dust reaction, since doing a bit extra work on the arms after I took the photo I realised you can dip the bits in water and use the dremel pieces on them and dust reduces dramatically. The whole time I'm using a dust mask anyway but this is handy to know.