Time: 12hrs 30mins
Total Time : 48hrs & 18mins
-------------------------------
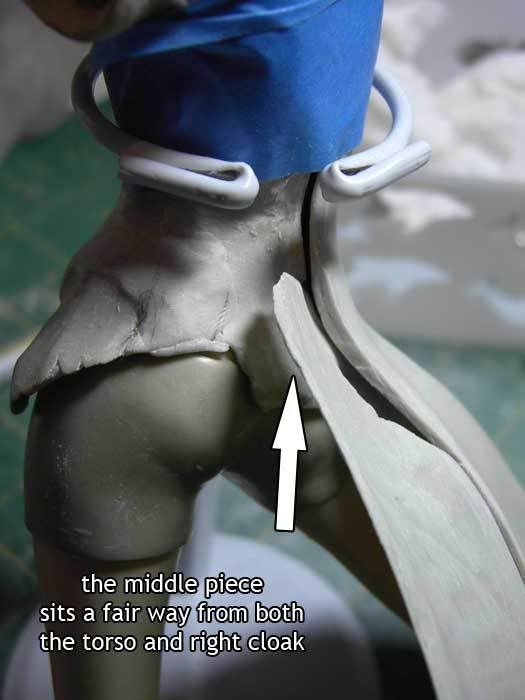
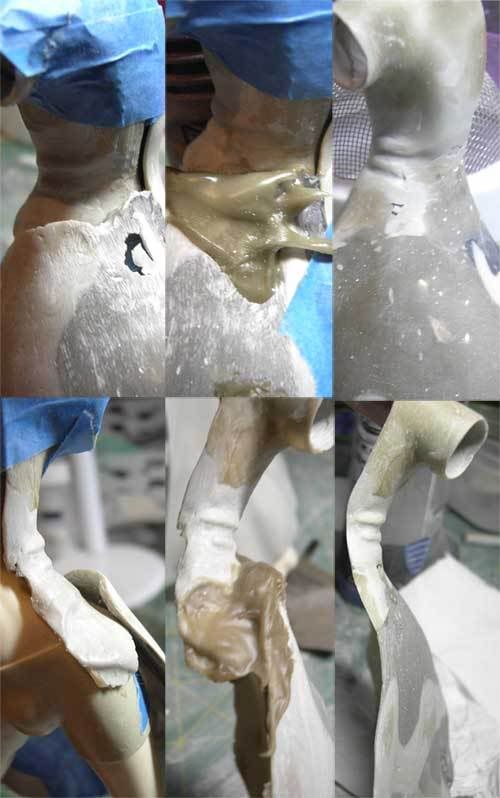
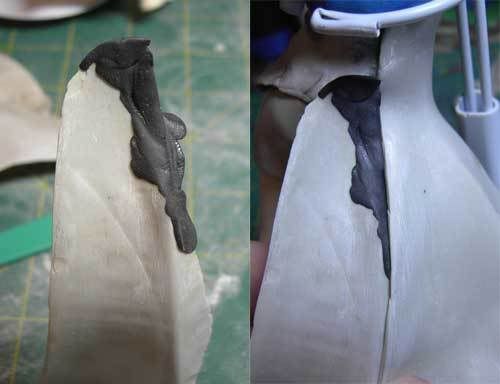 Waaaah, I’ve done 12 hrs this time & I don’t really feel I’ve done much! The gap between the right cloak and the middle piece was filled with ‘Quik Steel’ a black tube that has a different colour in the middle of it and is activated when you squash the piece together. It sets in a few minutes and filled the gap nicely.
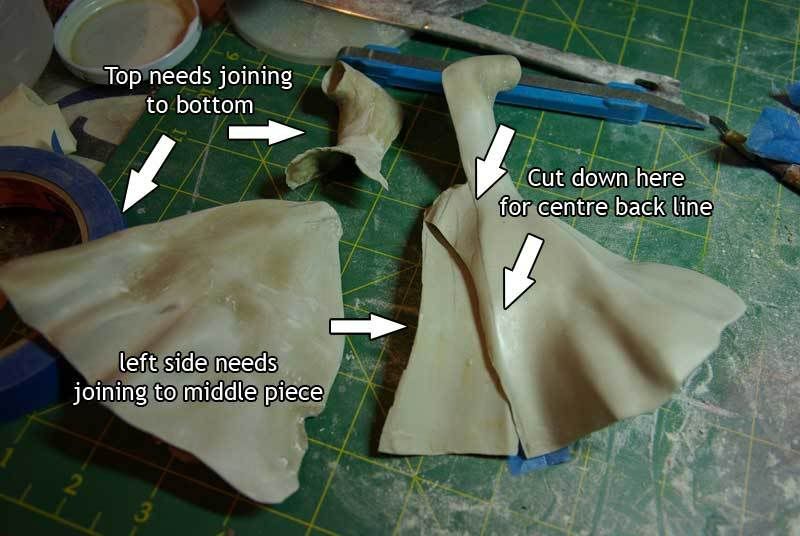
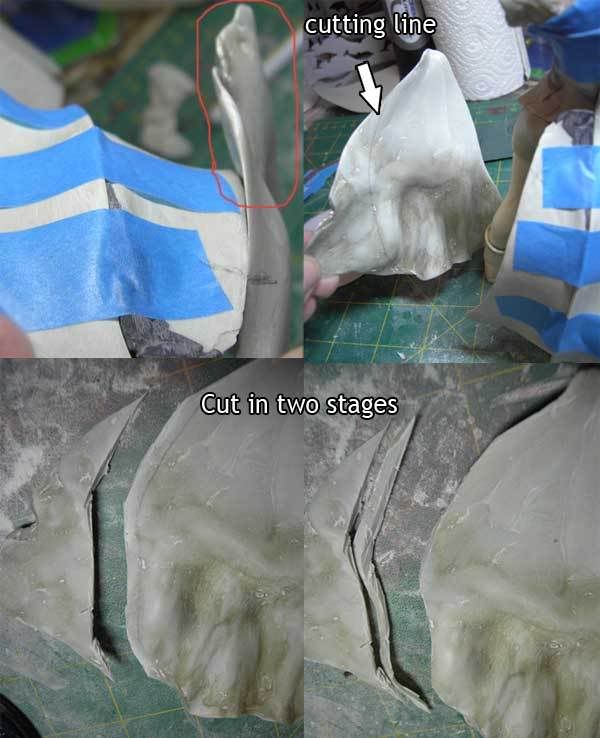 I then taped this middle piece to the right cloak to hold in place. The left cloak piece was completely the wrong shape (as I initially wasn’t going to use the middle piece otherwise it would have been fine). You can see from the photos that it didn’t fit whatsoever so I marked in pencil the area that would first need to be taken off. I then used a dremel and close a bit far from the line and lined it up to make sure I hadn’t penciled it off to close. I was happy so cut on the line.
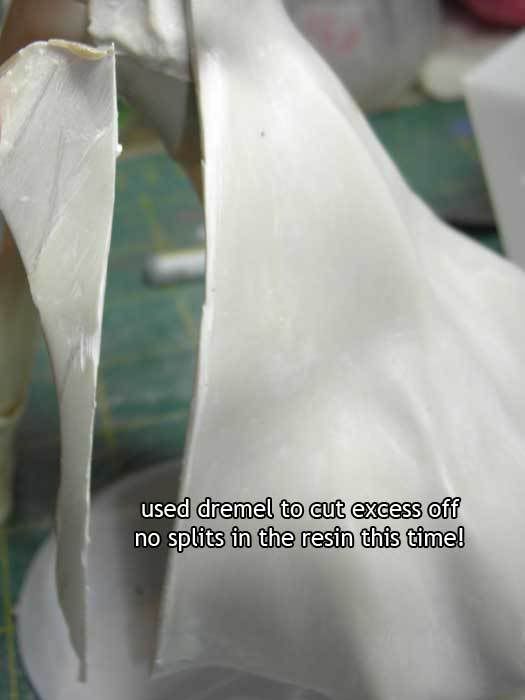
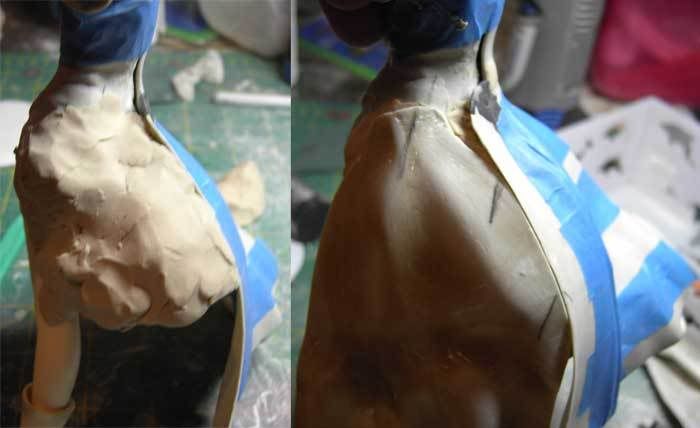 I planned to use polyester putty to close the gap but I couldn’t hold the piece at the same time as puttying so I built up the underneath with Klean Klay so I could rest the left cloak on the middle piece.
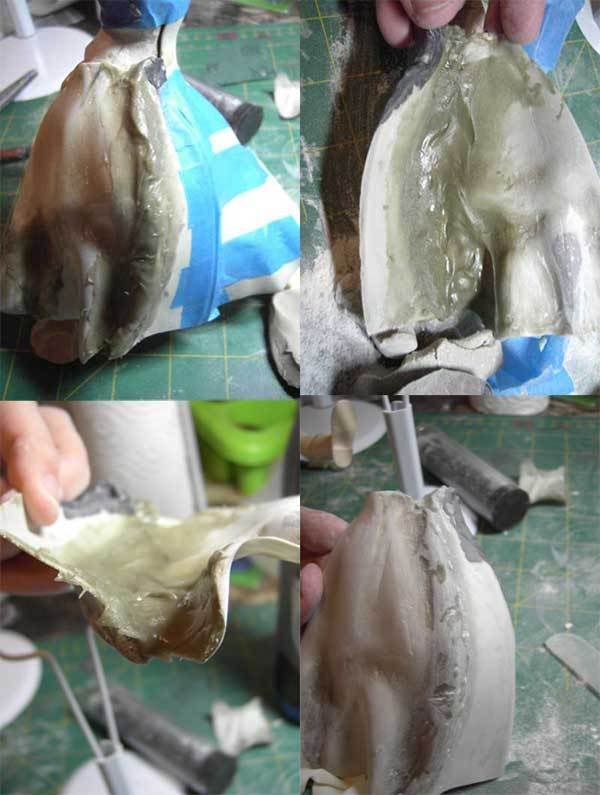
I then applied the polyester putty quite liberally on the inside and outside join. After a rough sand at 120grit it was starting to shape nicely.
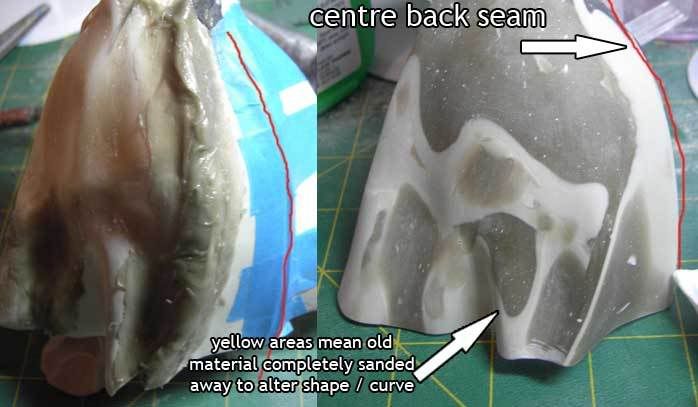
I then did a fair bit of reshaping that you can’t really tell from the photos I took. Basically I felt it was curving out too much so I kept dremeling with a sanding attachment until the left cloak looked a bit flatter towards the outer side. I had to keep adding polyester putty to the inside as most of the original out layer was sanded away. This you can tell from the photos!
I can’t even remember the time it took to sand and shape this, but it was hours. I then repeated the process to join the left cloak to the left torso.
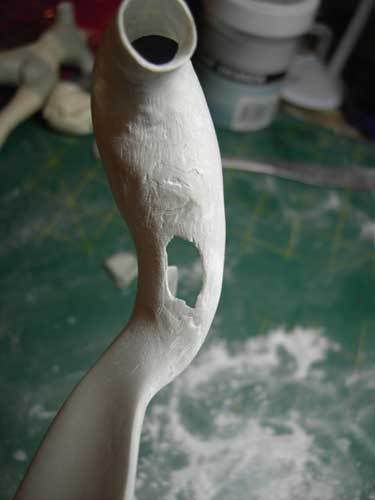
I sanded for so long I gave up trying to get the surface even and ended up with this.
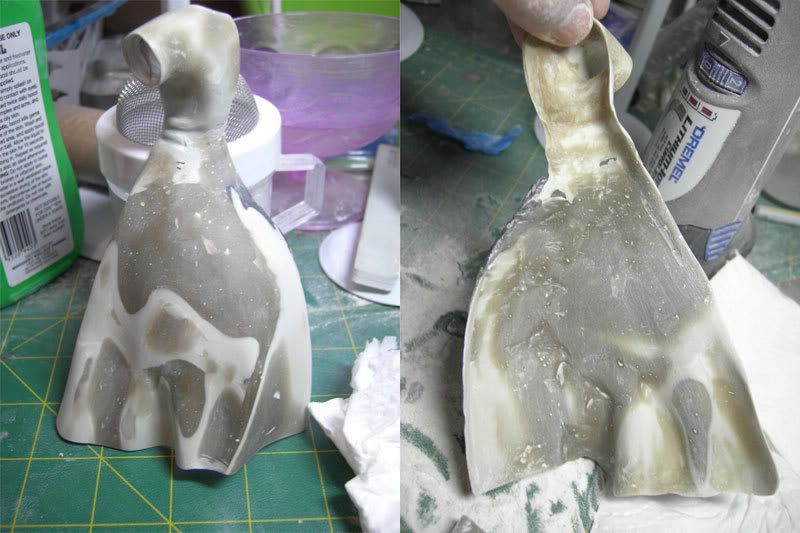
I decided to add thin rolled layer of magic sculpt over the whole piece to even up the surface (and the different colours were really
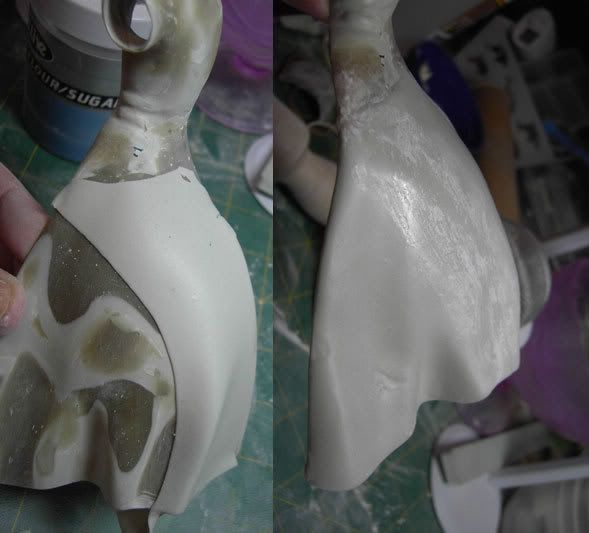 annoying me). I had to do it in two pieces. Basically I just lay them on top of the cloak and then wet the ends with water and pad down otherwise it won’t stick it would just fall off once it dried. Now I have left it to set overnight and will repeat the process for the top part of the cloak and later, the inside.