-------------------------------
Time: 9hrs 33mins
Total Time : 87hrs & 5mins-------------------------------

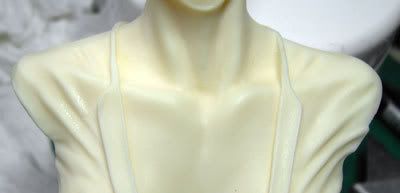
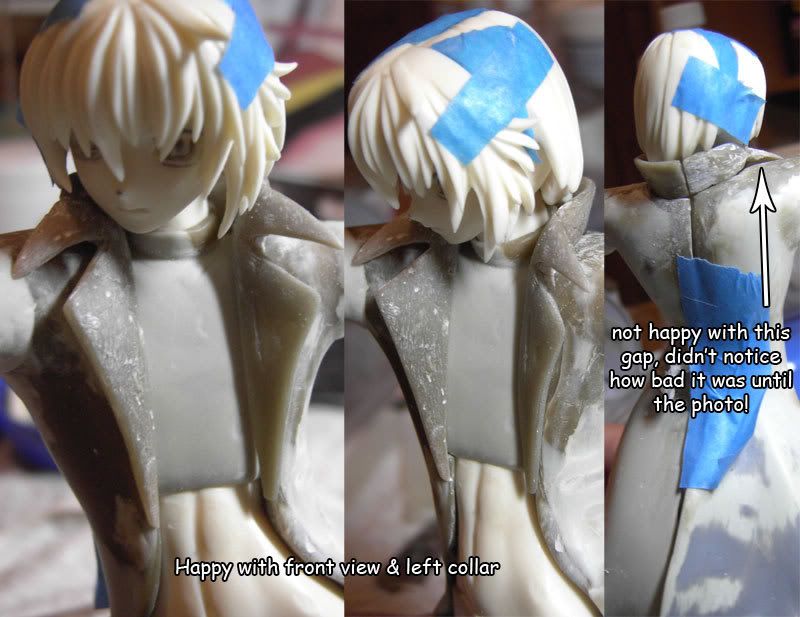
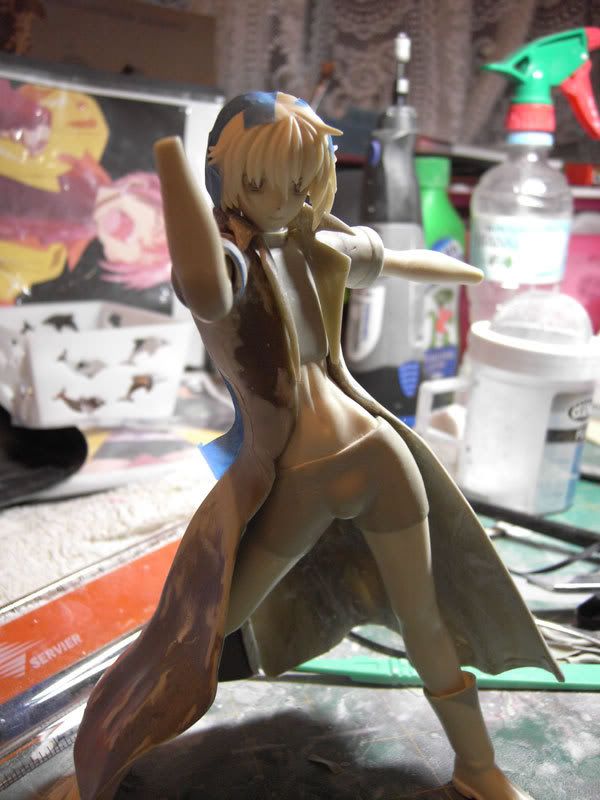
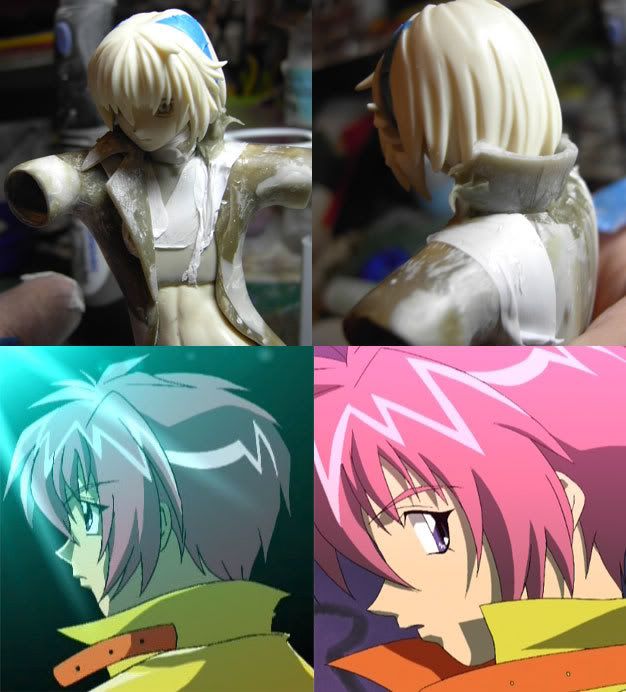
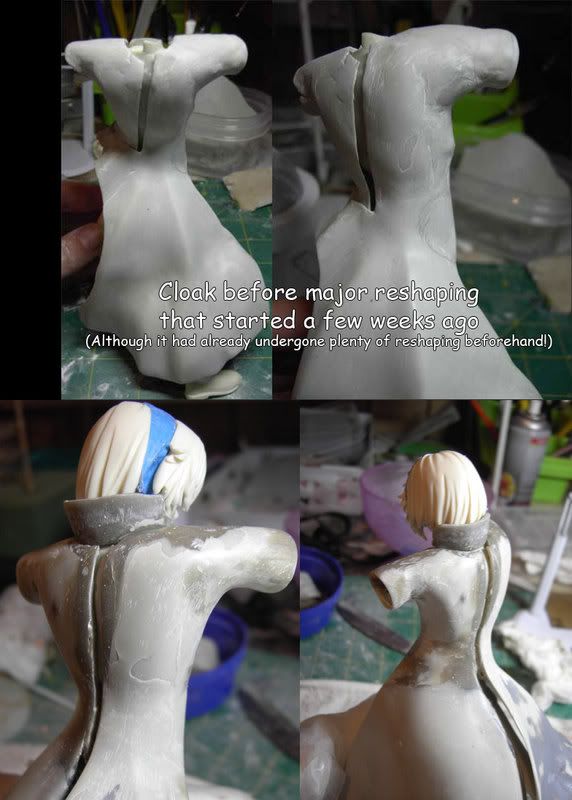
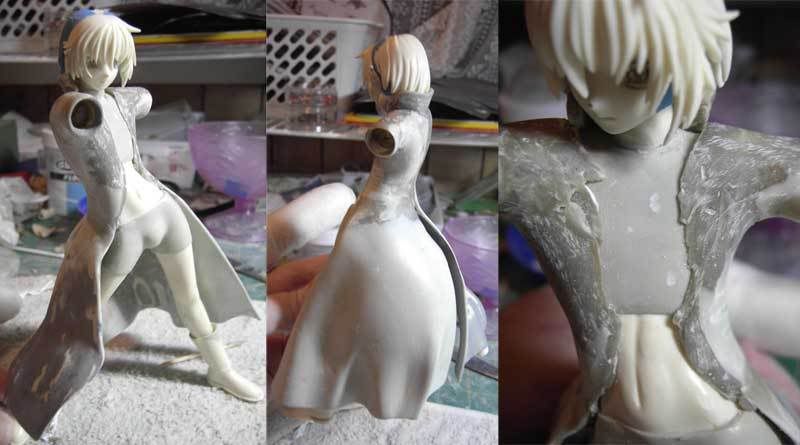
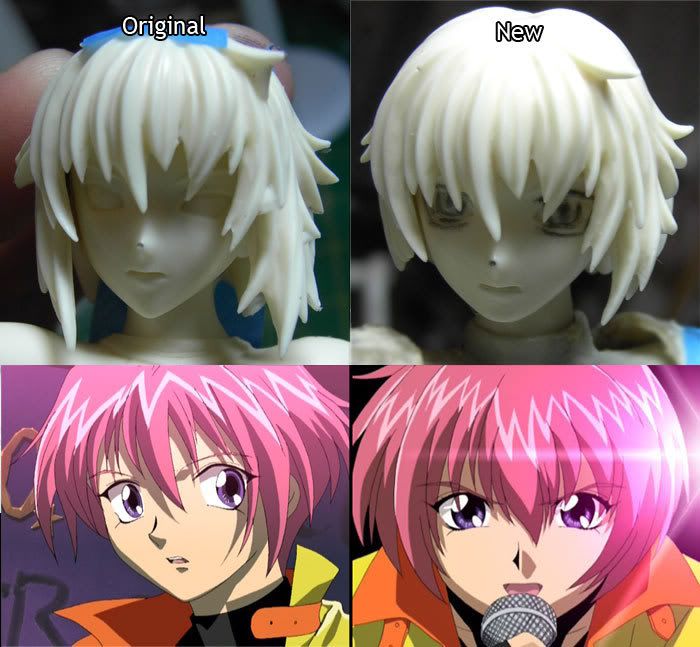
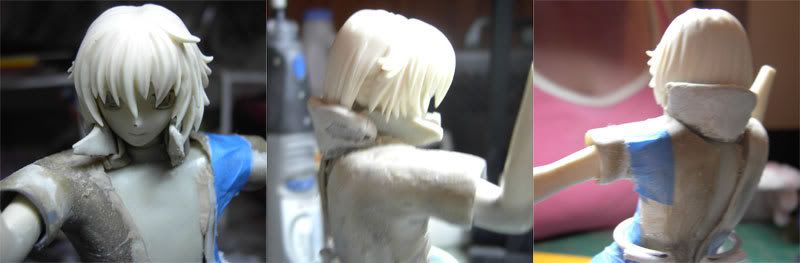
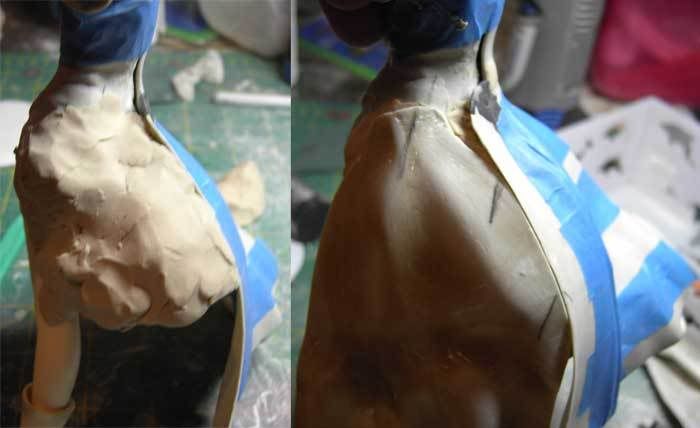
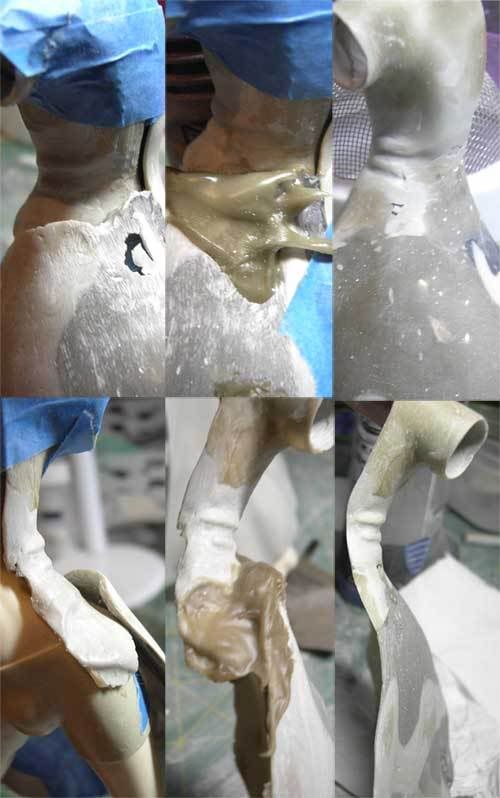
It’s been a whole month since I did anything!!! Argh, got sidetracked with other things like trying to make moulds and then buying a ball jointed doll!!!! I’ve made some good progress with Shuichi and he’s finally looking reasonably like I want him to. I really need to knuckle down and finish this as I have a commission mod to next and I’ll like to get started as soon as I can. First I had to fix this messy cloak, the never ending cloak, after spending many hours sanding (again) and filling the messy bits with putty, Mr Surfacer and Mr Dissolved Putty I was ready to prime to see the real uneven surface under the even gray colour as it’s difficult to see as is.
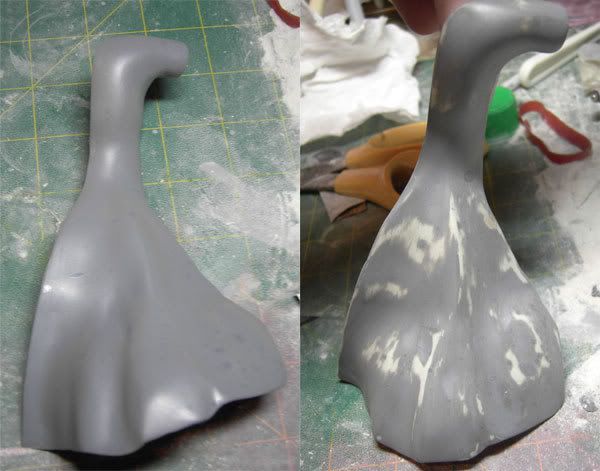
I’ve had ongoing issues with spray cans and this was no exception, after about 3-4 quick passes my cans spit like crazy thus creating me extra work as I have to sand these spots off and prime again. Anyway I finally developed a technique involving two spray cans and a pot of warm water, after two sprays the can goes in the pot then I use the other can while the first can is warming back up. I alternated with this and left about 20 minutes or so between coats. I didn’t prime the model completely just a bit to get started and identify some problem areas of which there were PLENTY. I didn’t photograph them all but here’s a few circled.

After light sanding to smooth the surface and some puttying and more Mr Surfacer I’m ready to prime again. I like the finish and although I can’t really tell until it’s primed again, it looks smooth and even to me!!
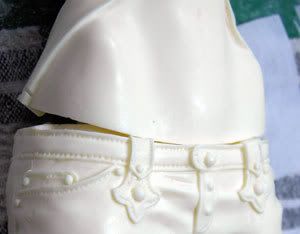
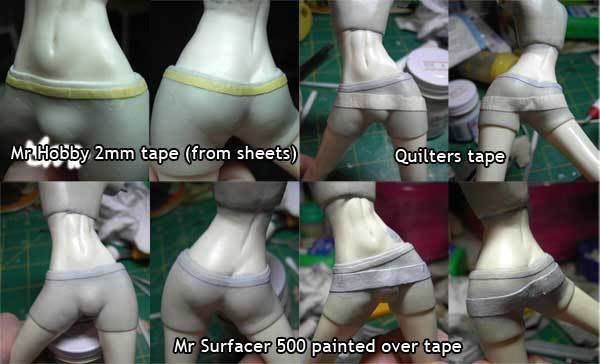
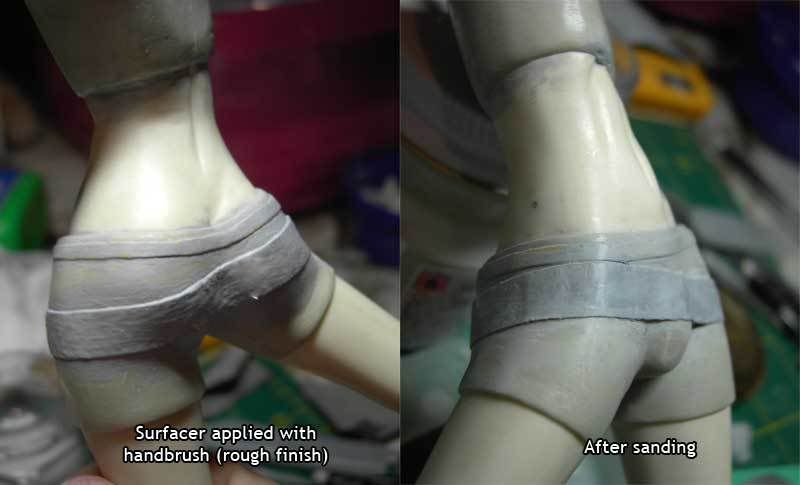
Next I attacked the shorts. I needed to make two belts with the two buckles. I toyed with the idea of making the belts from magic sculpt but was concerned that I wouldn’t be able to get the straight line, I also though some sort

of ribbon or leather string would work but they were both hard to work with so I ended up going for masking tape. I used Mr Hobby masking sheets which are precut to 1mm and 2mm, it was perfect for the smaller belt. I then handpainted Mr Surfacer over the masking tape to even out the surface and give it some strength. Then I used quilters tape for the bigger belt. Quilters tape is good because it’s not uneven at all and it’s really thick, it’s thicker than masking tape. I also used Mr Surfacer on it.

Then I lightly sanded the surface and cleaned it up along the edges with a scalpel until it looked pretty smooth.

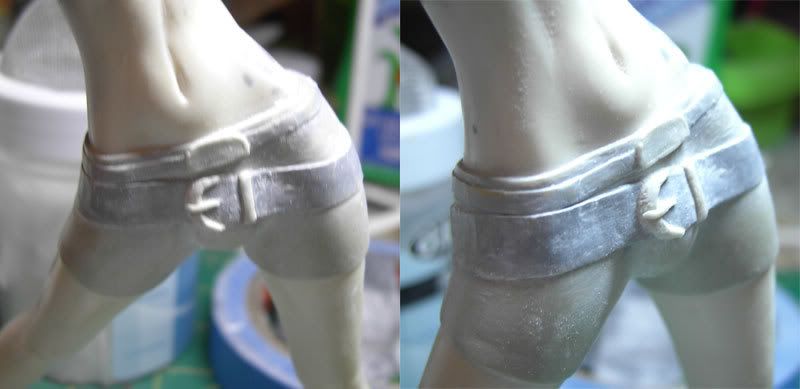
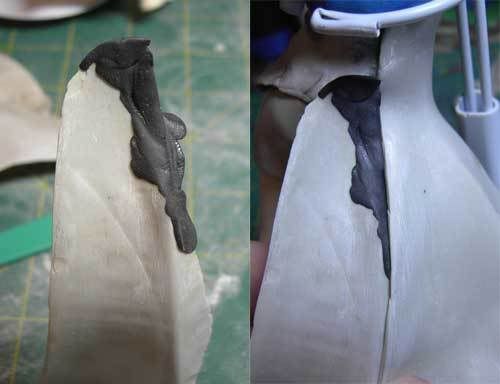
Then I used some Magic Sculpt to make the top and bottom buckles, this was very tricky. I started out using a curved carving tool to shape and manipulate but the buckles would keep falling off or moving slightly. Then I used a pin to carefully go around the outlines of the pieces and press them on to the belt, then I could manipulate the shape of the pieces, I opted for a rounded buckle in the end instead of a square one. The picture is of the initial bits before they are cleaned up.

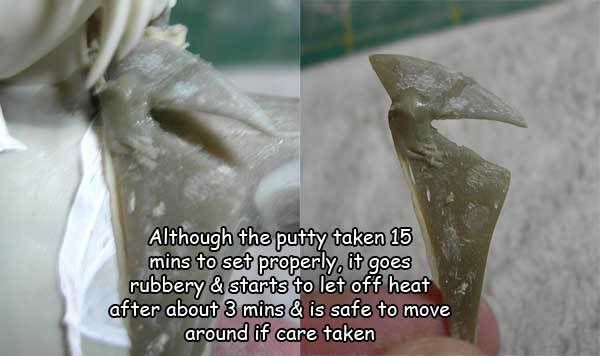
I then cleaned up the debris with a dry paintbrush and used the pin to hollow out any corners that had talc in them. You can use Magic sculpt with talc or water, each keeps it smooth but allows for different uses, it’s just a matter of experimenting and getting used to how you prefer to work with it. After clean up I handpainted some Mr Dissolved Putty ( I LOVE THIS STUFF) to even out the surfaces and create some nice rounded edges. If you haven’t used this, get some, it’s like thinning out a high quality putty so that you can paint with it, it’s a bit thicker that Mr Surfacer 500 but with the two products combined you can do so much with them, you’ll see the difference below (keep in mind there’s be NO SANDING on any of these belt pieces as the magic sculpt is still not cured so I can’t sand).
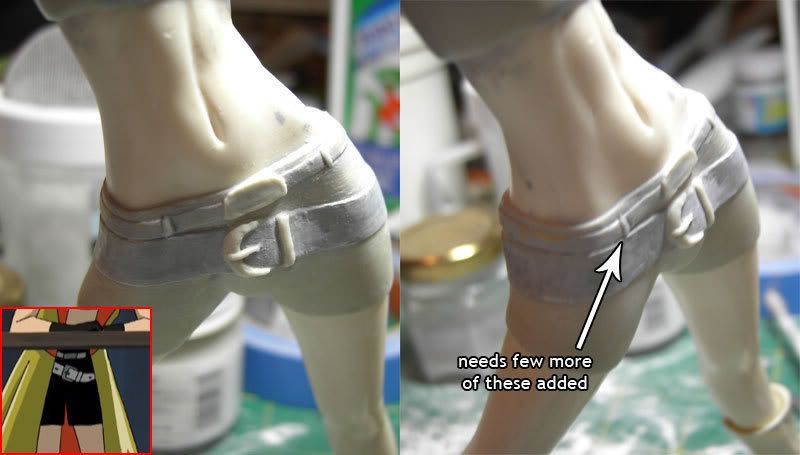
I’ll need to add some more bands on the top belt and maybe sand a little once it’s all set tomorrow to even out the surface as it’s a little rough. Also the curve at the top of the buckle needs a little attention to get it to look right but otherwise it’s taking shape!!


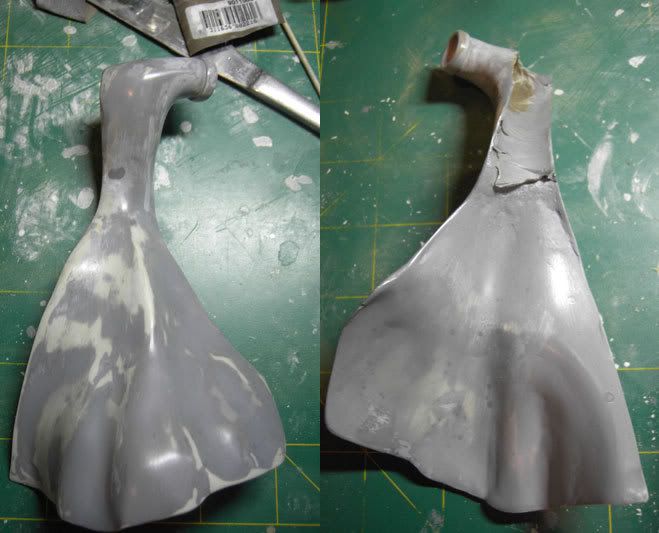
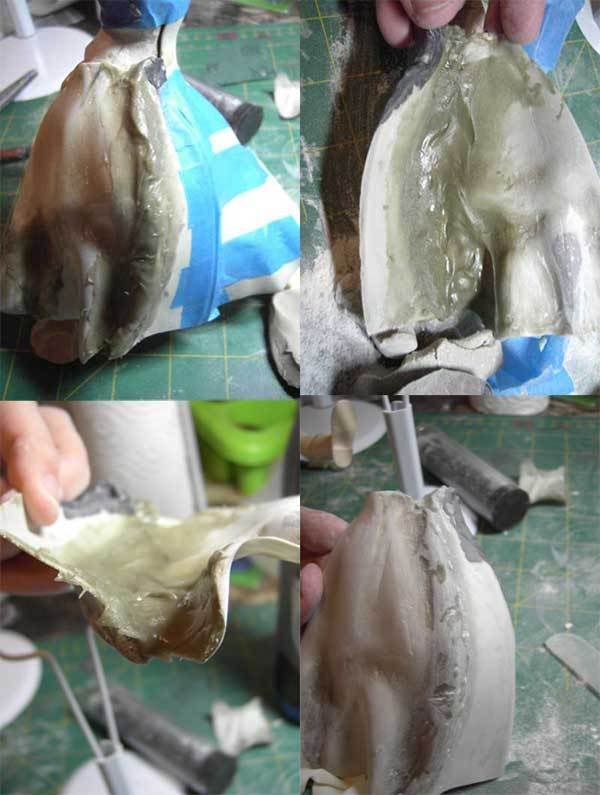
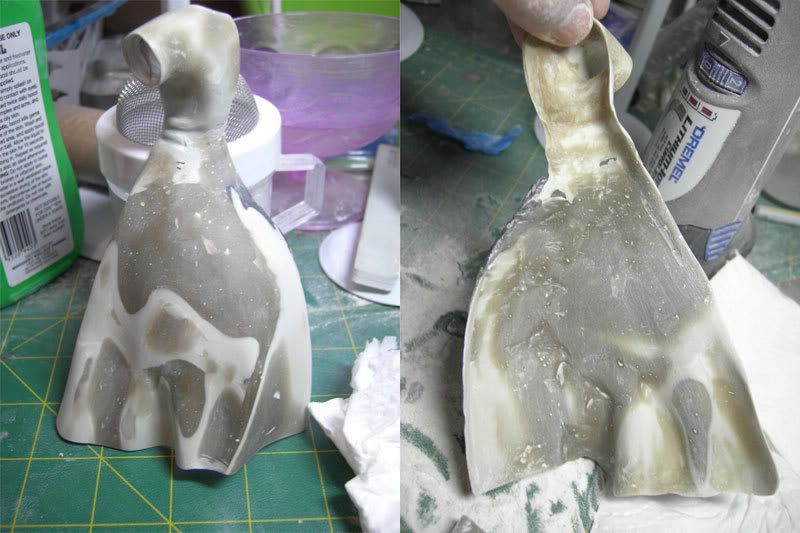
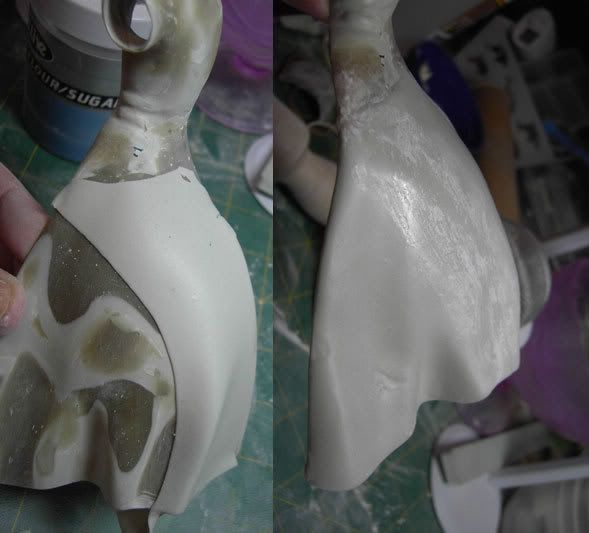
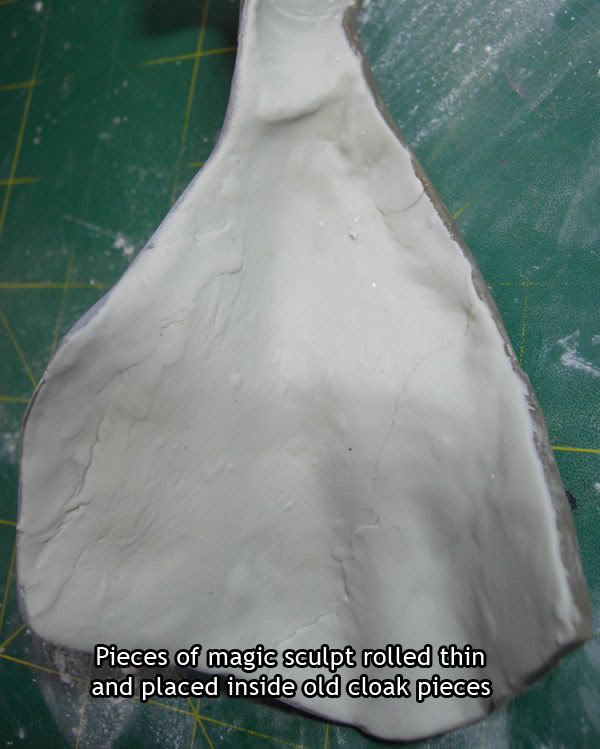 wearing thin and I wasn't happy with the cloak. I recently started other projects and now that I've had a bit of a break I'm doing some extra bits on the side with Shuichi. He won't be my primary project but I'll continue to at least pick away at him.
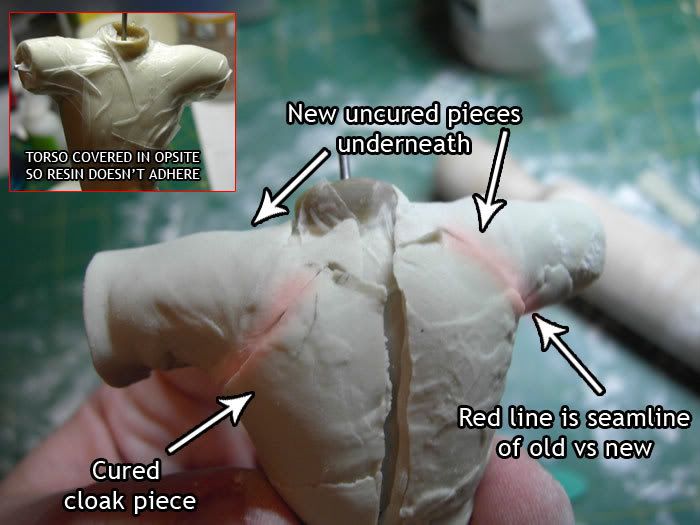
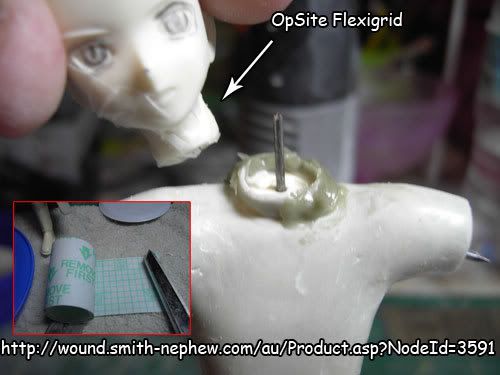
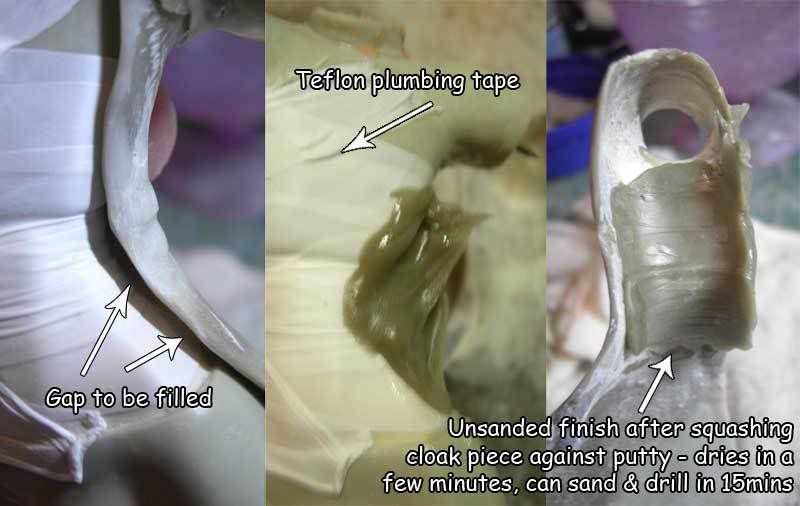
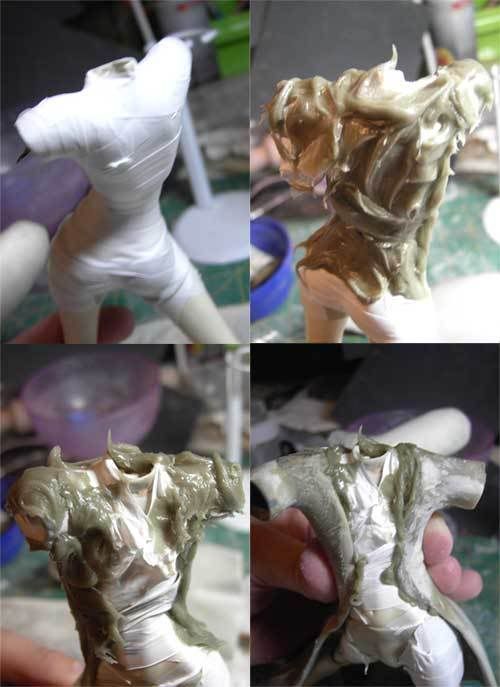
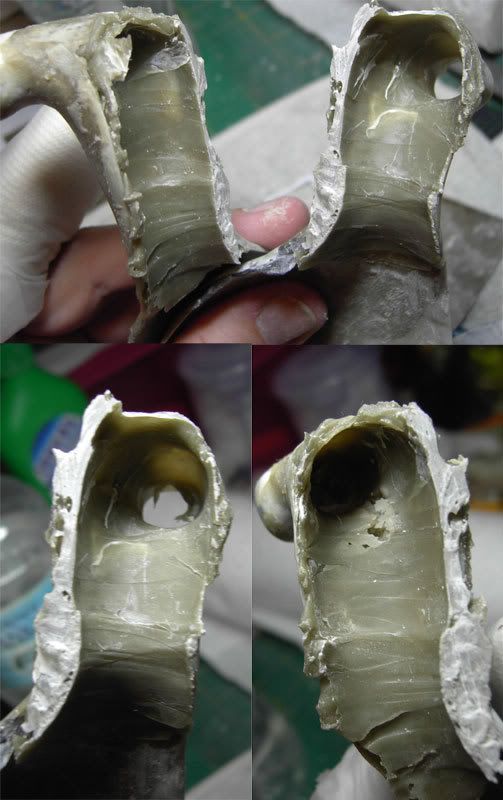
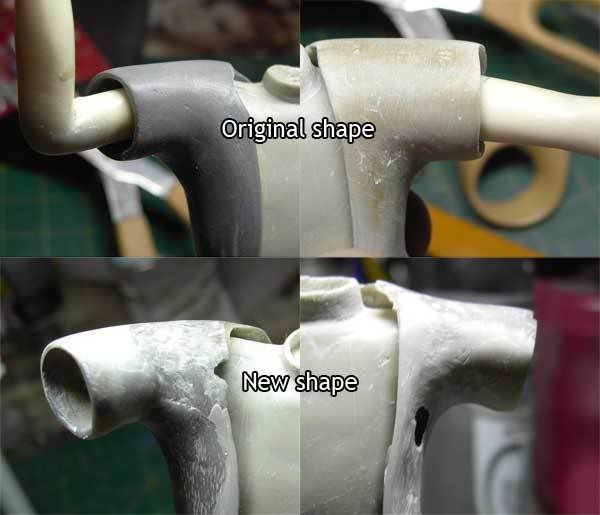
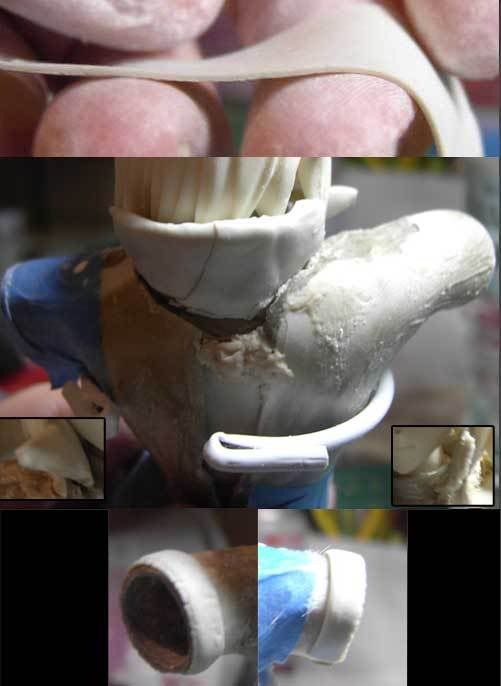
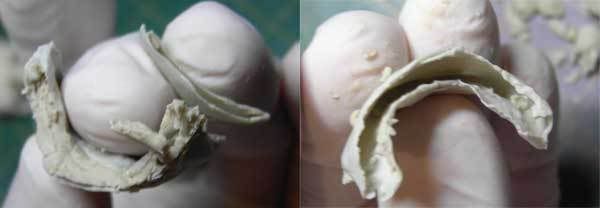
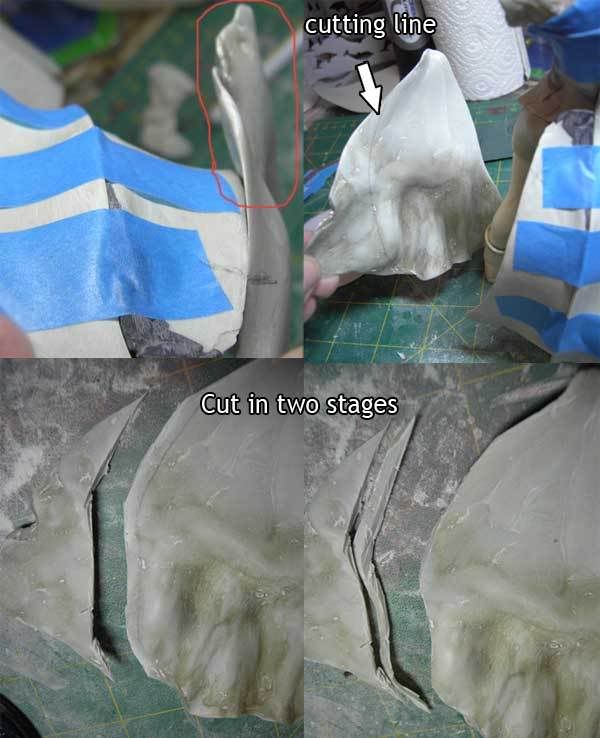
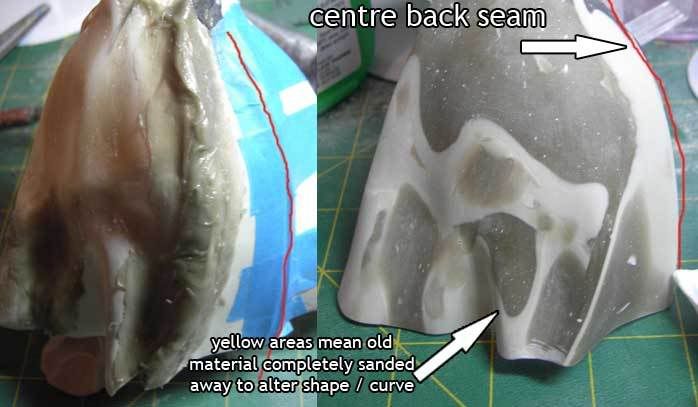
 couldn't copy the whole lot with the armholes otherwise I wouldn't be able to get the new piece out of the old piece.